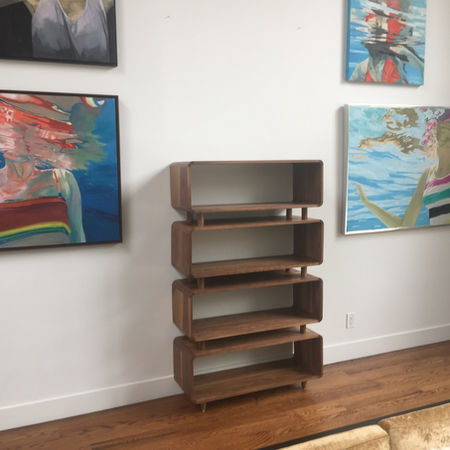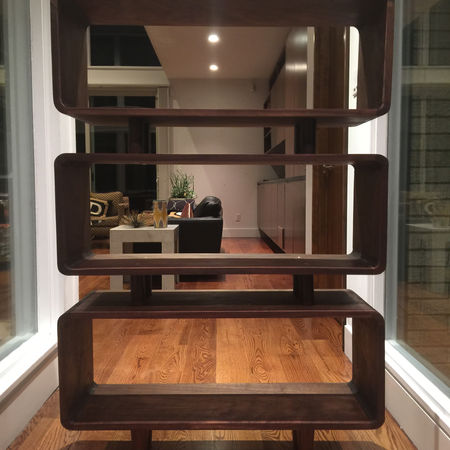
The MCM Bookcase
An original design black walnut bookcase
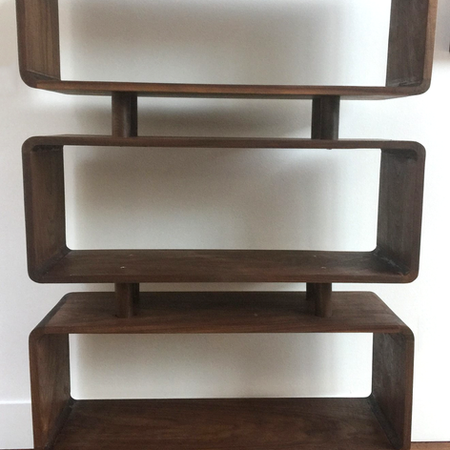
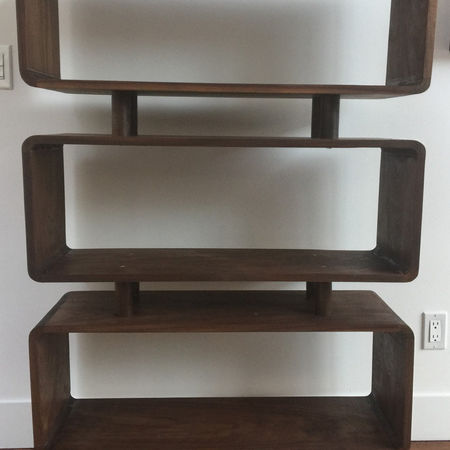
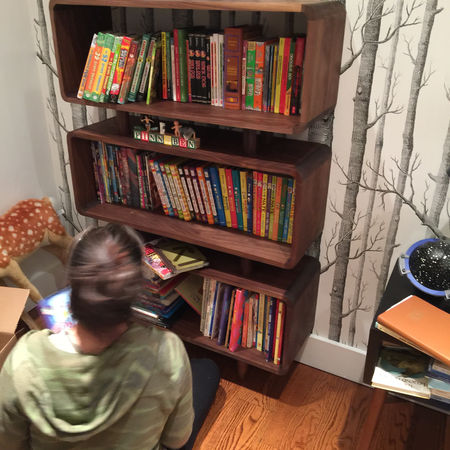
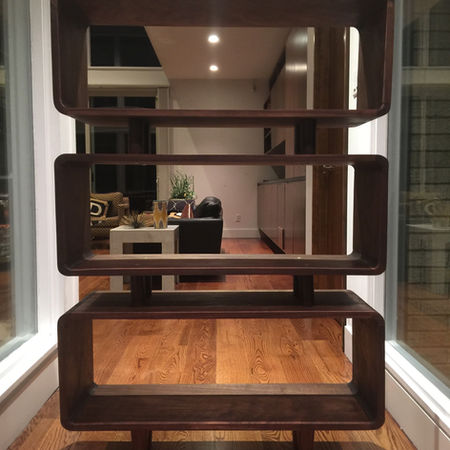
We live in a mid-century modern home, so when it was time to design a bookcase, the criteria were straightforward: simple straight lines and a modular approach to allow for easy expansion. This approach aligns with the Scandinavian furniture style, which enables reconfiguration based on individual needs.
Here's an overview of the 3D mockup design process. I always begin with Sketchup or Fusion 360, and when creating custom versions for future commissions, I incorporate parametric modeling. This allows for flexibility and adaptability in design attributes. Below is a view of a 4-shelf unit:

Ensuring the strength of the boxes is a top priority. To strengthen the glue joints between the 1/4-round corners and the straight panels, I utilize biscuits. For a closer look at the assembly, here is a detailed view in Fusion 360:

Additionally, hanger bolts and threaded inserts are used to connect the 3" dowels that link the units together. Placing the threaded inserts is a crucial step that requires utmost precision. It's a moment when attention is heightened, as any mistakes can jeopardize hours of work invested in building, gluing, and finishing the boxes.
The following diagram provides an overview of the overall design:

Note: On the right-hand side is the design for the 1/4-rounds. I create two at a time, and the white band in the middle adds an extra 1/4" to account for blade kerf and allows for gradual trimming for a perfect fit.
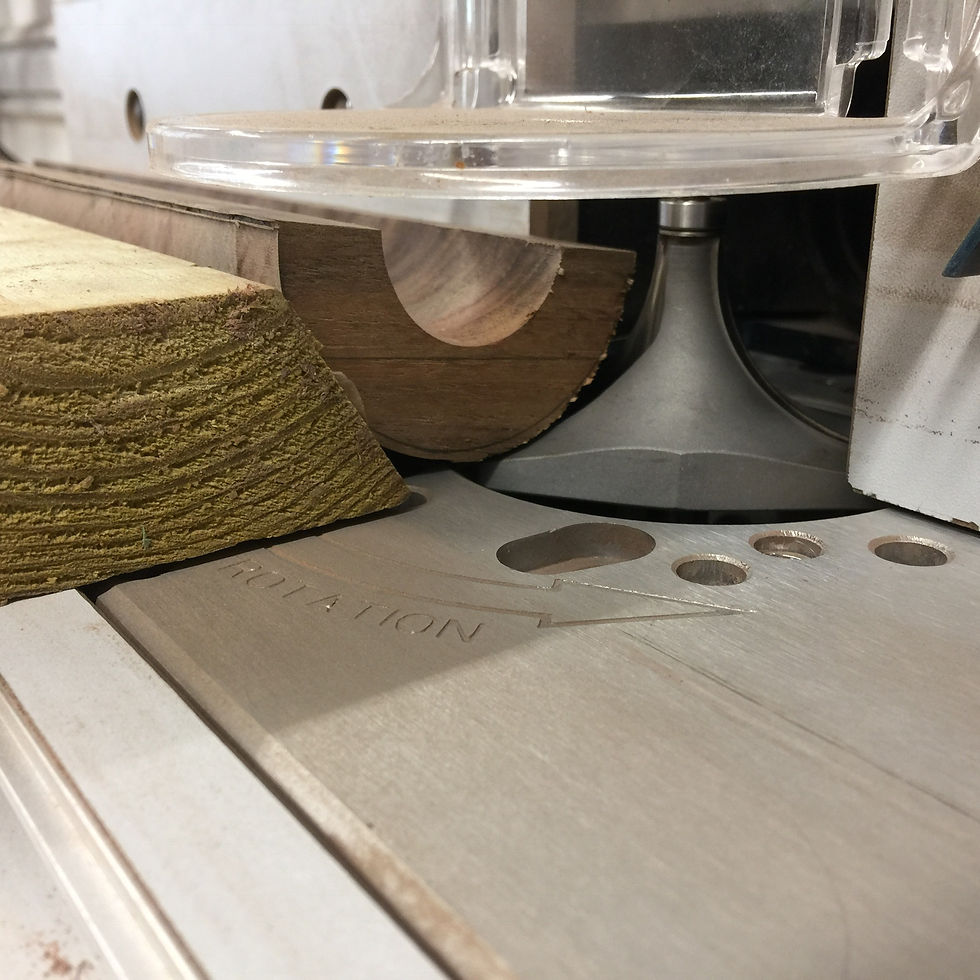
I have experimented with various methods to fabricate the 1/4-rounds. One method I found less favorable is using the router table, as it requires additional stabilization jigs to ensure safety. However, fingers are still in close proximity to the router blade when cutting the inside or outside edges. Here are some photos of the process (the less recommended method):
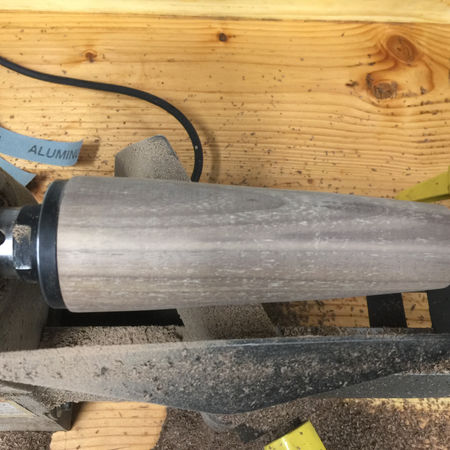
Another method I attempted involved shaving away excess material from the half-circle shape, but this also proved unsafe on a tablesaw or bandsaw:
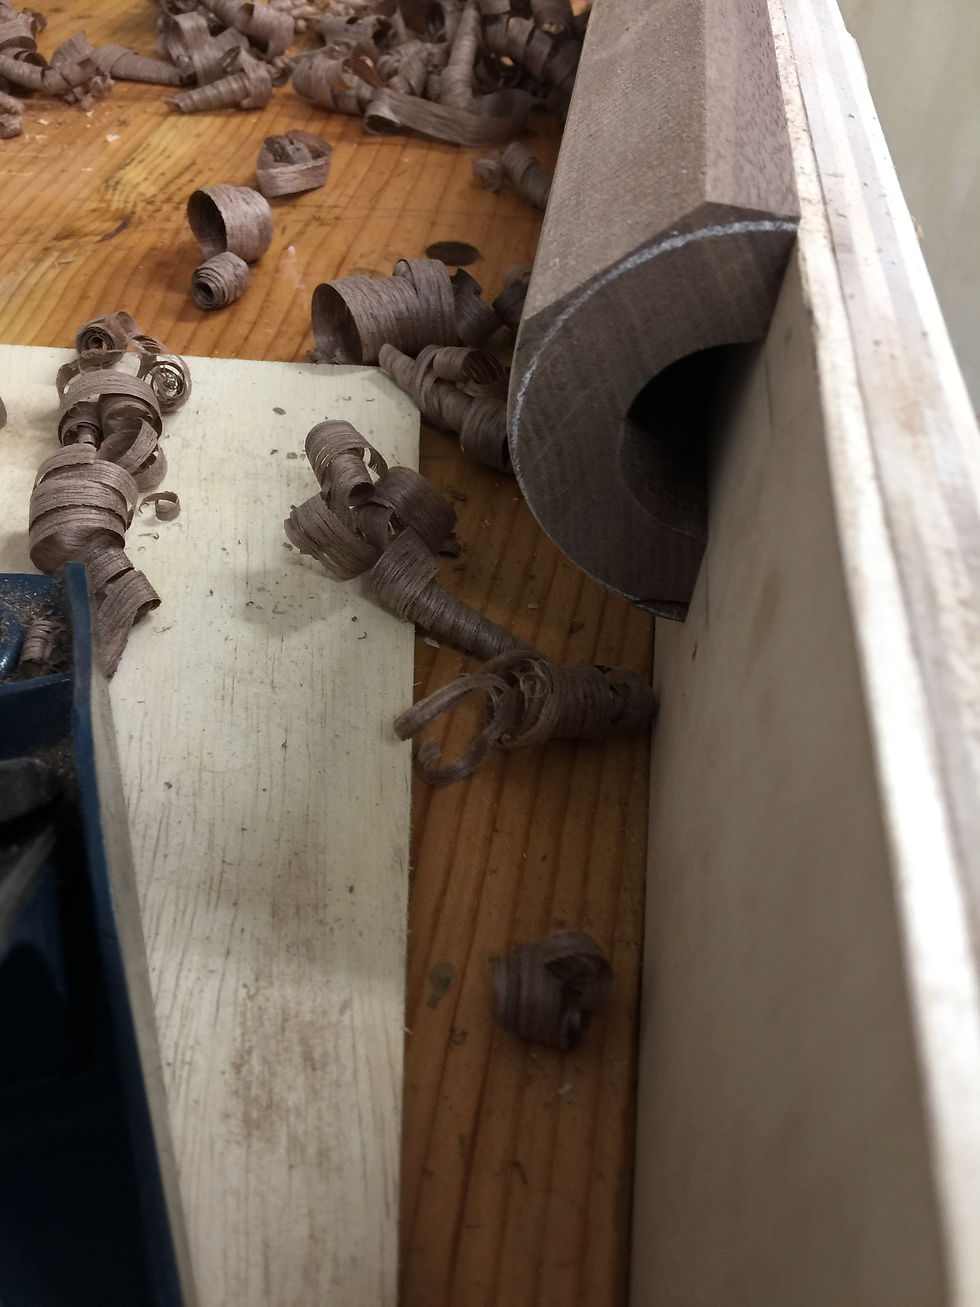
Once I achieve the rough profile, I can refine it using a spokeshave:
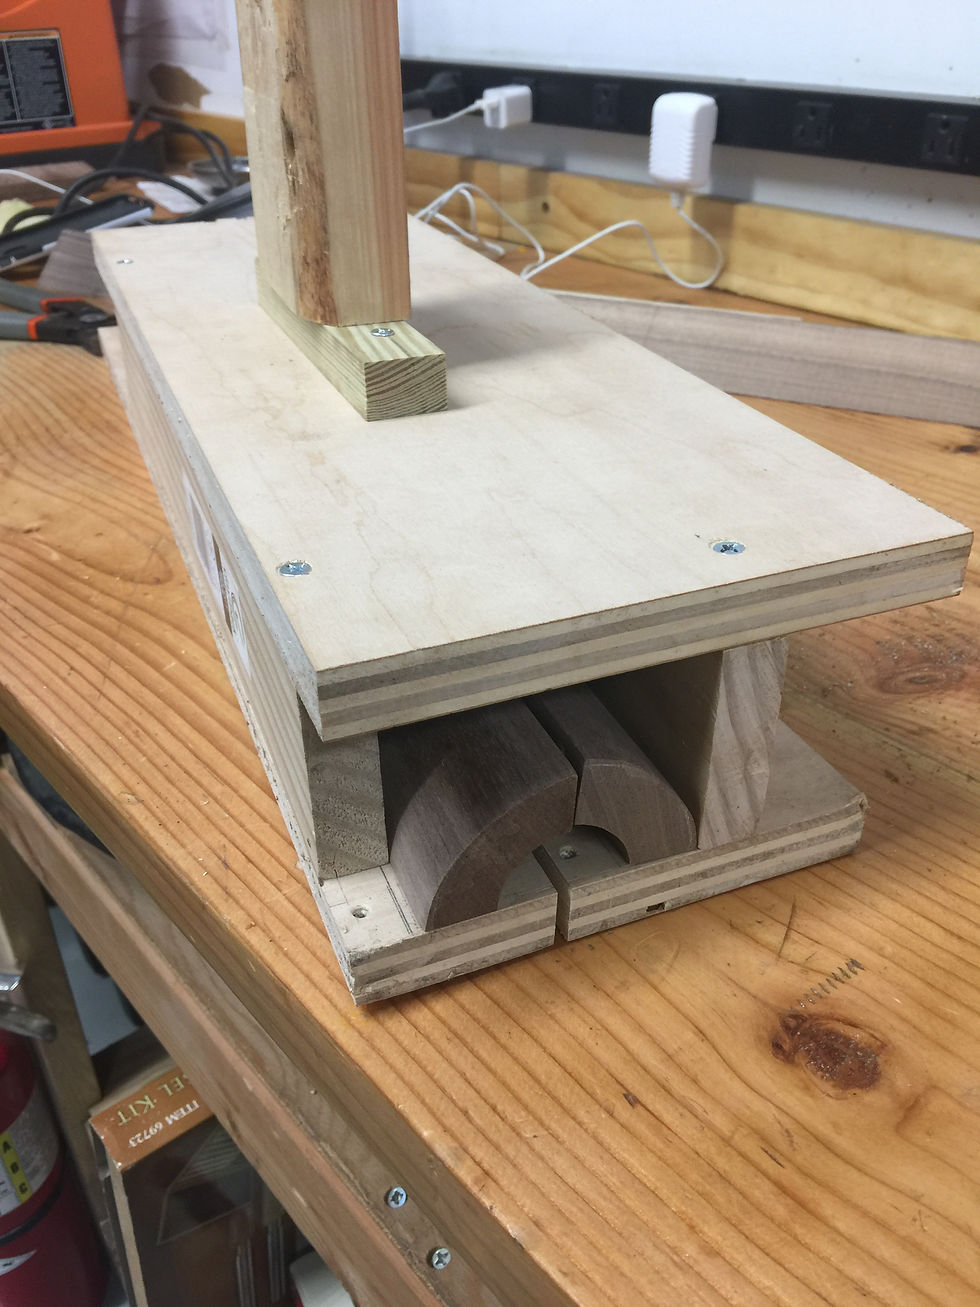
In case you're curious, once I obtain a nicely shaped half circle, I cut it in half using a jig (a term you will often hear woodworkers mention) and then I am left with two 1/4-rounds:
As a last attempt to ensure ease of replication and scalability, I designed an array of all the half rounds in Fusion 360 for CNC carving. However, this is a two-sided operation that presents challenges when executed on a home desktop CNC:
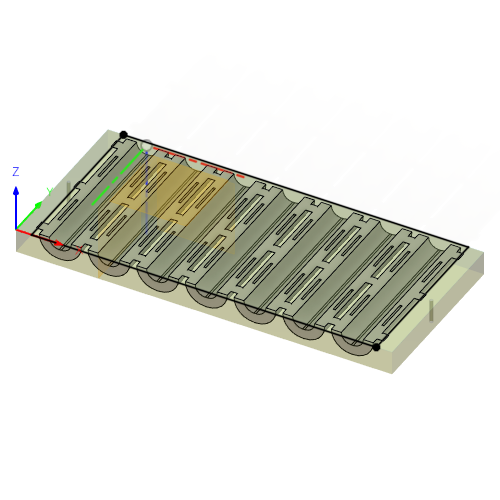
One challenge with the two-sided operation is the need for precise positioning of the CNC after flipping the block. Even slight inaccuracies can result in offset cutouts between the inner cove and outer shell, leading to uneven lip thicknesses. This would require extensive sanding of the walls and additional hours of work (don't ask me how I know).
To accurately slice the half-round in half and facilitate biscuit slot cutting in areas inaccessible to the CNC, I constructed a jig:

Lessons learned
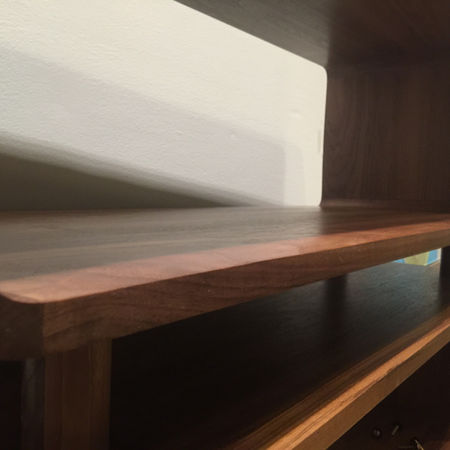
This design, while magnificent in its simplicity, is challenging to execute accurately. Achieving even lips on all the 1/4-rounds, matched to the wall thickness of the straight boards, requires precision.
A perfect glue-up is essential, both for stability and to avoid the need to clean up glue in the cove area (which becomes difficult once assembled).
The positioning of the posts that support each box atop the one below can affect the long-term bowing of the boards. I advise my clients to avoid overloading the units, especially if they have ordered an extra-wide box. While adjusting the position of the posts inward would impact the design aesthetic, placing them outward is my preference. What are your thoughts?
I will continue refining my CNC two-sided workflow to perfect this technique, as it offers the safest way to create the half-rounds.
Media Gallery
